Implementing a simple Container with Text in Flutter

In Flutter, the Container widget is a useful and frequently used widget. It can be tailored to create more intricate layouts with borders, shadows, and other decorations, or it can be used to build straightforward boxes to hold other widgets.

The Container widget’s primary function is to give padding and margin around other widgets. You may create spacing around the content of the container using the padding and margin properties, which is helpful for designing more aesthetically pleasing layouts.

The Container widget also lets you alter the box’s decoration in addition to padding and margin. The decorating property, which accepts a BoxDecoration object, is used for this.

Container(
  width: 200.0,
  height: 100.0,
  margin: EdgeInsets.all(16.0),
  padding: EdgeInsets.symmetric(horizontal: 16.0, vertical: 8.0),
  decoration: BoxDecoration(
    color: Colors.white,
    borderRadius: BorderRadius.circular(8.0),
    boxShadow: [
      BoxShadow(
        color: Colors.grey.withOpacity(0.5),
        spreadRadius: 2,
        blurRadius: 5,
        offset: Offset(0, 3),
      ),
    ],
  ),
  child: Text(
    'This is a Container widget!',
    style: TextStyle(fontSize: 16.0),
  ),
)

With the help of the BoxDecoration class, you may alter the container’s appearance by changing things like the colour, border radius, and box shadow. Even with just the Container widget and some simple styling, you can come up with some truly intriguing and inventive layouts.

We construct a Container widget with a white backdrop, rounded corners, and a box shadow using the example code shown above. In order to display some text, we also add some padding and margin to the container and a Text widget as a child of the container.

Overall, the Flutter Container widget is a strong and adaptable tool for building unique layouts. The Container widget is a fantastic tool for creating more complicated aesthetic elements or adding space around other widgets.

Simple Listview In Android – Example

Now, We are publish of simple listview example in Android Studio.

In this example, We can give you simple introduction of Listview. It is basic example of Listview Tutorials.

This example use for beginner user who dont know about the android. It is simple example of Listview Tutorials.

Below are the code of the Simple Listview App.

First of all you have to create New Project which is called “Simple Listview” or anything else.

Now Below are the code of MainActivity.java

package com.web.simple.listview;

import android.support.v7.app.AppCompatActivity;
import android.os.Bundle;
import android.view.View;
import android.widget.AdapterView;
import android.widget.ArrayAdapter;
import android.widget.ListView;
import android.widget.Toast;

public class MainActivity extends AppCompatActivity {

    ListView lst_CountryName;
    // Defined Array values to show in ListView
    String[] worldValues = new String[]{"India",
            "United States",
            "Argentina",
            "Russia",
            "Australia",
            "Afghanistan",
    };

    @Override
    protected void onCreate(Bundle savedInstanceState) {
        super.onCreate(savedInstanceState);
        setContentView(R.layout.activity_main);

        // Get ListView object from xml
        lst_CountryName = (ListView) findViewById(R.id.listing);

        // Define a new Adapter
        // First parameter - Context
        // Second parameter - Layout for the row
        // Third parameter - ID of the TextView to which the data is written
        // Forth - the Array of data

        ArrayAdapter<String> adapter = new ArrayAdapter<String>(this,
                android.R.layout.simple_list_item_1, android.R.id.text1, worldValues);


        // Assign adapter to ListView
        lst_CountryName.setAdapter(adapter);

        // ListView Item Click Listener
        lst_CountryName.setOnItemClickListener(new AdapterView.OnItemClickListener() {

            @Override
            public void onItemClick(AdapterView<?> parent, View view,
                                    int position, long id) {

                // ListView Clicked item index
                int itemPosition = position;

                // ListView Clicked item value
                String itemValue = (String) lst_CountryName.getItemAtPosition(position);

                // Show Alert
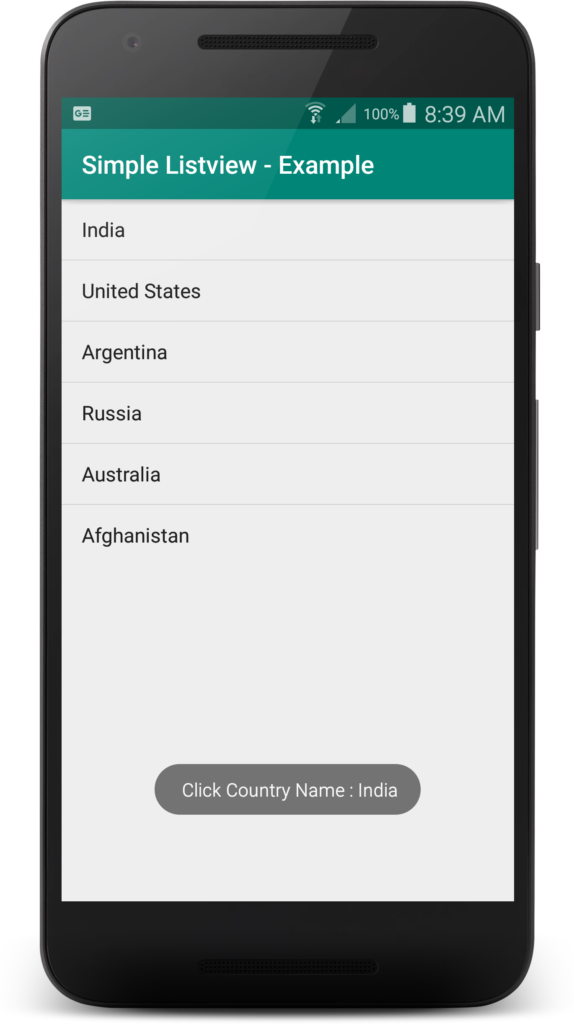
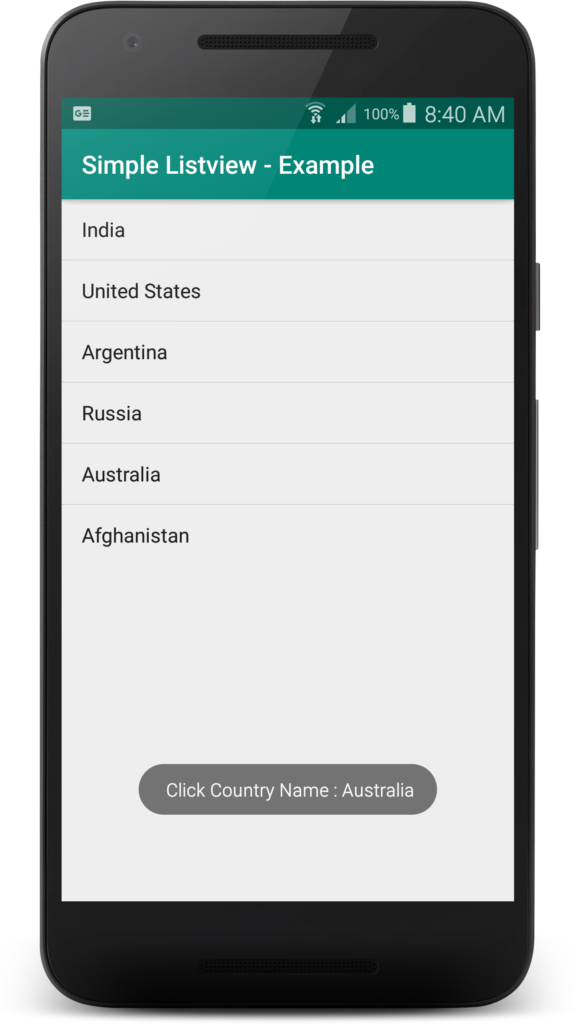
                Toast.makeText(getApplicationContext(), " Click Country Name : " + itemValue, Toast.LENGTH_LONG)
                        .show();

            }

        });
    }
}

Now In XML File.

activity_main.xml

<!--?xml version="1.0" encoding="utf-8"?-->
<RelativeLayout xmlns:android="http://schemas.android.com/apk/res/android"
    xmlns:tools="http://schemas.android.com/tools"
    android:layout_width="match_parent"
    android:layout_height="match_parent"
    tools:context=".MainActivity">

    <ListView
        android:id="@+id/listing"
        android:layout_width="match_parent"
        android:layout_height="wrap_content" />

</RelativeLayout>

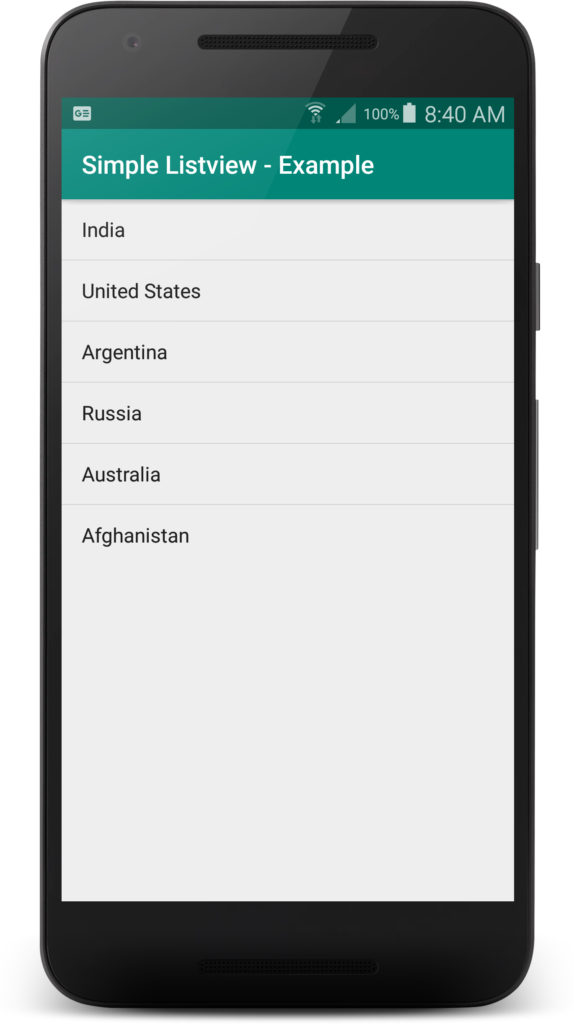
Now output of the project is given below.

Here is the screenshot.